Tip #1. Identify the Source
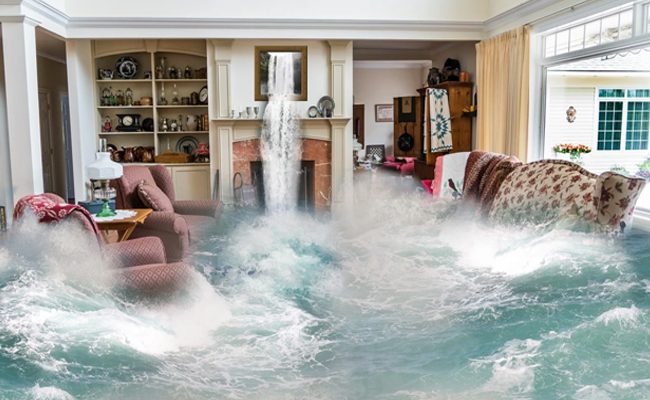
Identifying the source of flooding is essential to the successful remediation process. Several factors can cause flooding, from broken pipes to structural issues. Other causes include sewage water or blocked waste systems. Liquid can also leak from dishwashers, washing machines, central heating systems, hot or cold feeds, and defective gutters.
Early detection is key to preventing further damage to wood or upholstery furnishings. However, it can be tricky to identify the source of flooding in the first place. Thankfully, there are many common sources of flooding and how to identify them. If you notice any of these signs, you are likely dealing with liquid damage.
First, look for musty odors. While this may not be an immediate indication of flooding, it may be indicative of mold growth. Observe the area for signs of liquid damage and mold. This is difficult and may be the job for professionals like the ones at Anatom Restoration or your local hardware store. If you notice a musty odor on certain walls, check for cracks or holes in the walls.
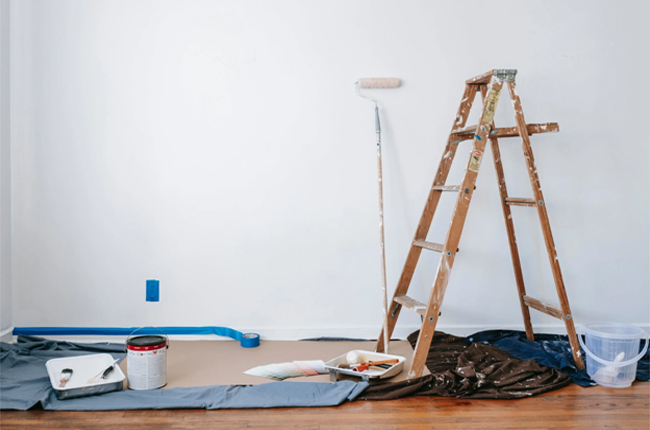
Tip #2. Prepare for Restoration
You should prepare for a flooding disaster before one ever strikes. First, you should turn off all electricity and electrical equipment before entering a flooded home. Also, move all electrical equipment away from standing liquid and prop it up at the highest level possible.
Liquid saturation will damage paper goods such as photos, artwork, and documents. You should consider calling a flooding restoration company to get these items restored. They have the experience and equipment to do it. Regardless of the source, flooding is a major problem. It can be the result of a natural flood, broken pipe, or overflowed appliance.
By preparing for flooding restoration, you can minimize damage and get back to normal quickly. Here are some things you need to do before calling a restoration company: Ensure that all items are accounted for. Liquid leaks can damage everything in a matter of minutes. Carpets and books will be stained and warped.

Tip #3. Identify All Porous Materials
There are many different types of damage to your home caused by liquid. Classification of water damage by the IICRC helps restoration companies to determine the extent of water absorption and drying. For example, Class 1 damage is generally clean and will dry with minimal evaporation.
This type of damage is also more difficult to restore, and it will require specialized equipment and a long drying process. It can also range from a small leak in the water main to a major flood. To identify porous materials, first determine how much water has penetrated the home.
To identify the amount of water that has penetrated the building, compare the amount of moisture to that of a control area. If the measurement is within a range of 0.3 percent, it means that a hidden leak has caused moisture to be absorbed by porous materials. This can be a problem for water damage restoration because prolonged exposure to high relative humidity can encourage microbial growth.
Tip #4. Get Rid of All Standing Water
If your property has flooded, you should get rid of standing liquid quickly to speed up the drying process. First, address the source of the large amount of liquid. Next, call a water damage restoration company. In the interim, you can use a wet-dry vacuum to remove any remaining liquid. You can also rent a wet-dry vacuum from a local home improvement store.
Once the liquid has been soaked up, mop up any remaining liquid on floors and walls. Standing liquid in a crawlspace can lead to several problems, including rot and decay. Rot and decay can damage the structural parts of a home and necessitate extensive repair work. Fortunately, removing this liquid early will save you money and prevent further damage.
If left untreated, standing liquid may also attract insects. Pests and other wildlife could also infest your home. If you do not get rid of the liquid immediately, it will only worsen the damage. After a flood, homeowners should remove all remaining standing liquid immediately, as recommended on the FEMA website which you can read more on at the link. This will make liquid damage restoration faster and easier.
Using buckets, mops, towels, and rags, you can begin to remove standing liquid from your home. You can also use commercial fans and air circulation to get rid of standing liquid. Towels and other materials can also absorb moisture, so the process will be much easier.
Tip #5. Get Your Personal Items Out of the Affected Area
Getting items out of liquid during liquid damage repair is essential. It is difficult to clean soaked items, and the time that is required to do so may interfere with other restoration tasks and your life. Freezing items may be an option, as it will prevent further ink, mold damage, and buy you some time.
You should also place items that cannot be cleaned immediately in open containers, such as plastic bags or boxes. First, turn off power to all electrical equipment in the affected area. Make sure to turn off all power to the area before entering the home. Also, move electrical equipment away from the liquid or prop it up above floor level. Liquid saturation can also ruin your valuables, including photographs, paper documents, and artwork.
Thankfully, you can have these items cleaned up by a liquid damage restoration company. You can also contact the National Flood Insurance Program for further information on what to do next after the liquid has subsided. Once you have figured out what items you want to salvage, you can begin the drying process.
Getting the items out of the liquid as soon as possible is crucial. Items should be completely dry within 48 hours, and proper drying will prevent mold and rust from developing. Mold can be deadly, which you can learn more about here. In addition, you can use a portable dehumidifier or a big one to remove excess humidity in an enclosed area.
Leave a Reply