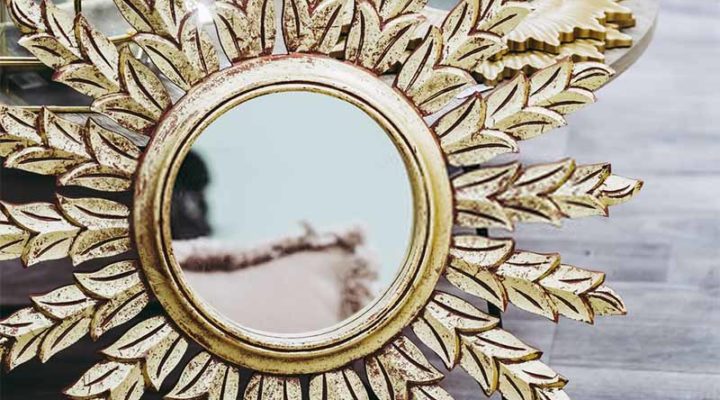
Building a DIY starburst mirror from scratch is a simple way of converting a cheap little round frameless mirror into a spectacular piece.
By making liberal use of timber dowel rods, lacquer, glue gun and a round mirror, you can make a high-end vanity mirror that is not only functional but also offers a fabulous decorating pattern that works magically towards filling an otherwise bland wall.
Also, it is a perfect and easy craft to try during the spring break or holiday season that could leave your partner impressed with your imagination and creative skills. So, without wasting any time further, let’s quickly get started.
Tools and materials needed for the project
The very first thing towards creating a mesmerizing starburst mirror is to collect the materials and tools that are going to be used in the DIY project.
- Dowels carved out of wood
- Small-sized frameless round mirror
- Spray paint colours— you may pick a shade of your choice that complements your house walls.
- Measuring scale or a tape
- Crafting knife
- A hook for hanging the mirror from the back
- Hot glue gun
- Painter tapes
- A piece of cloth
Step by step procedure to create a beautiful starburst mirror decoration
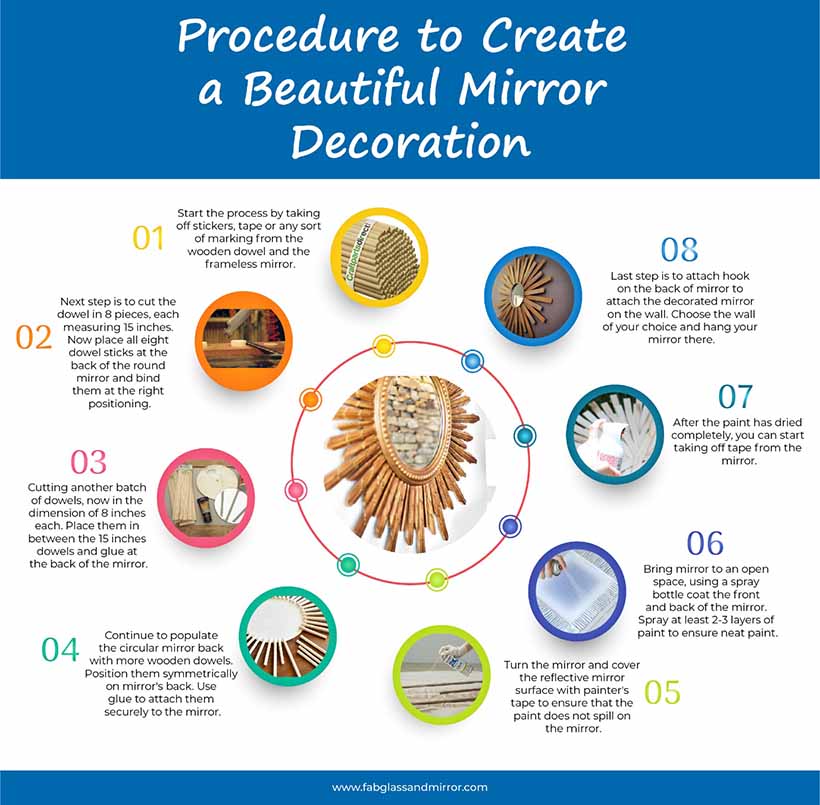
Step 1: Initiate the process by taking off the stickers, tapes, any sort of marking that might be there, on the wooden dowels or the round mirror.
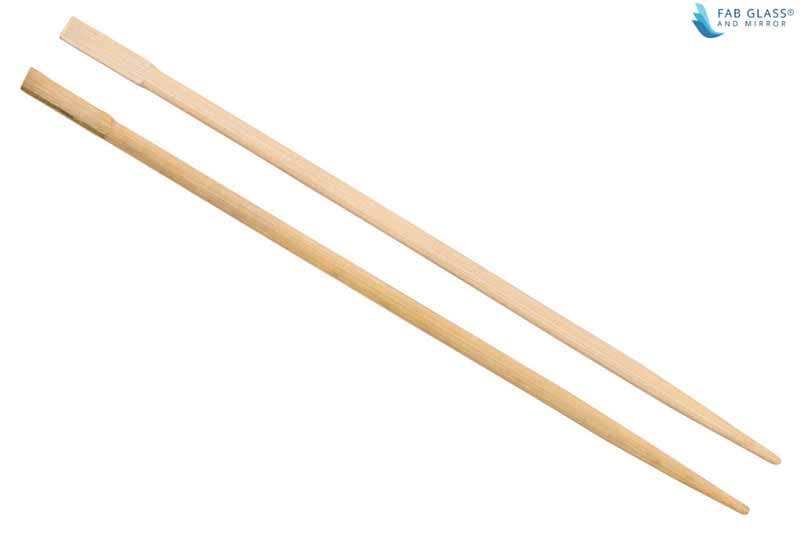
Step 2: The next step is to make use of the crafty shears and cut the dowels into a total of 8 pieces, where each strand measures 15 inches approximately. Use a scale or the measuring tape to keep the dimensions precise. Now, place all eight dowel sticks at the back of the round mirror, separated by exact same distance— By making one end of each dowel meet at the back of the mirror, you can maintain the requisite distancing balance. Lastly, bind them at the right positioning, behind the frameless mirrorusing a hot glue gun.
Step 3: Follow up step 2 by cutting another batch of dowels, now in the dimension of 8 inches each. Place them in between the 15 inches dowels and glue one end at the back of the mirror.
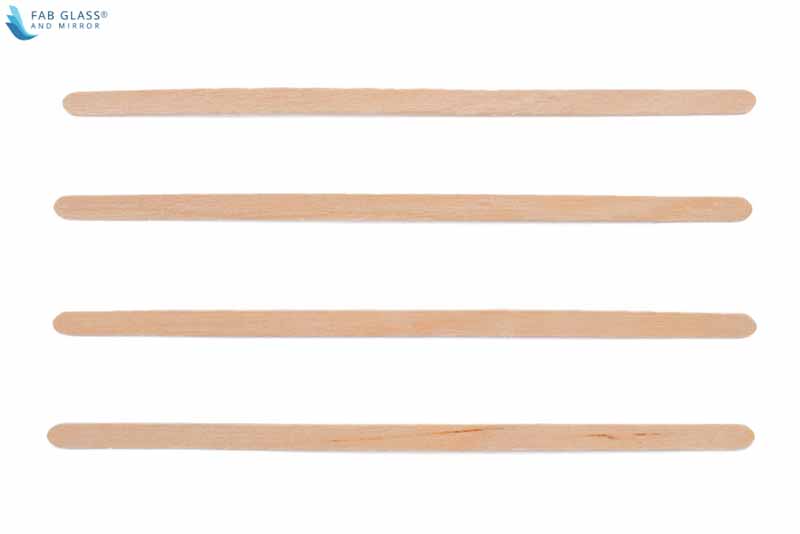
Step 4: Continue to populate the circular mirror rear with more wooden dowels— slice them in either the dimension of 10 inches or 12 inches long, or position them symmetrically encompassing the mirror’s back. Make use of the hot glue gun to attach them securely at the outlined positions. The exact count of dowels needed for the project depends on the size of the mirror as well as the thickness or each dowel in use. So, use your discretion to stop when you feel that the space is adequately filled.
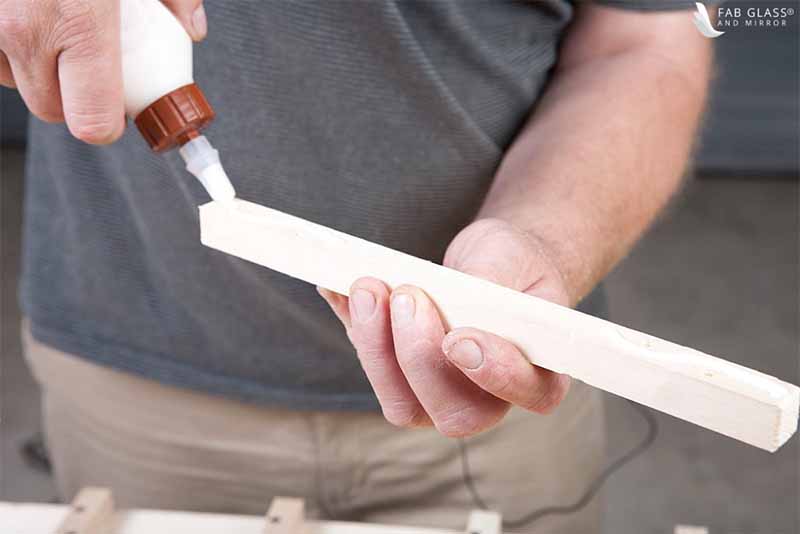
Step 5: Now, upturn the mirror after covering its reflective side with the protective painter’s tape— this is done to ensure that spray paint doesn’t end up ruining the mirrored side in any way. Use the utmost caution while taping and do not leave any area unprotected.
Step 6: Bring the mirror outside or in a well-lighted and airy space and put it on a drop cloth. Take out the spray paint bottle (in a shade of your choice) and coat the front and backend of the mirror liberally in at-least 2 – 3 layers of the paint. Make sure that you give ample time for the colour to dry in between the coating— this will prevent the wet paint from dripping off or creating marks unnecessarily.
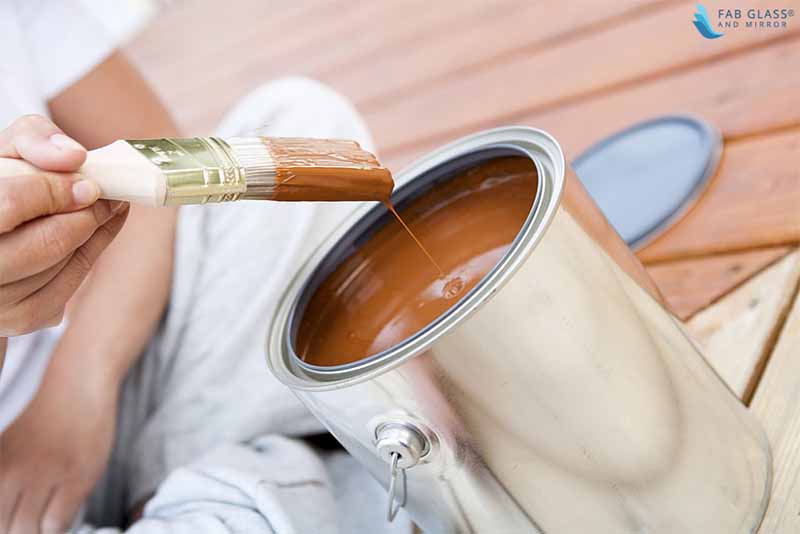
Step 7: Once you are satisfied with the paint evenness and it has dried completely, you may start taking off the tape from the reflective side of the mirror.
Step 8: The next step is to fasten a hook or a loop built to hang artwork to the mirror’s back. Choose the wall of your choice and hang your DIY starburst mirror decoration. And VOILA! You are done.
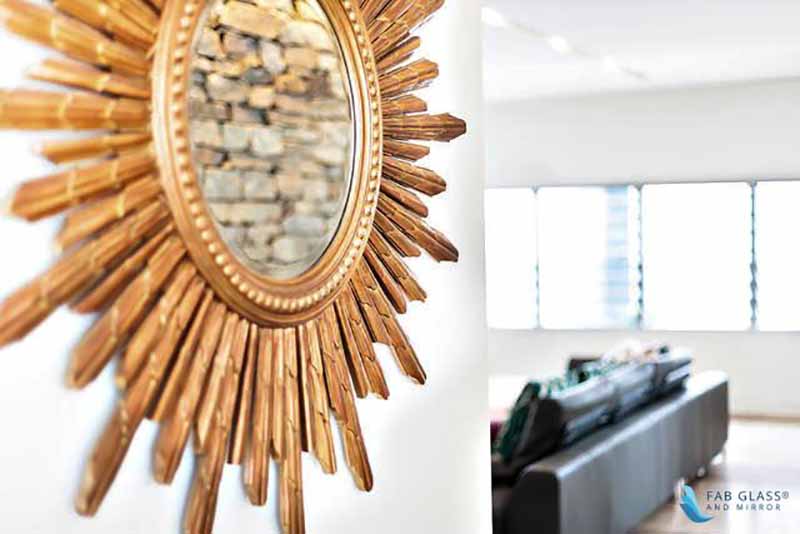
Now, all you need to do is wait for your partner to return home so that you could surprise him with an impressive artwork adorning the wall of your living room.
How to buy a top-quality frameless mirror for this DIY project?
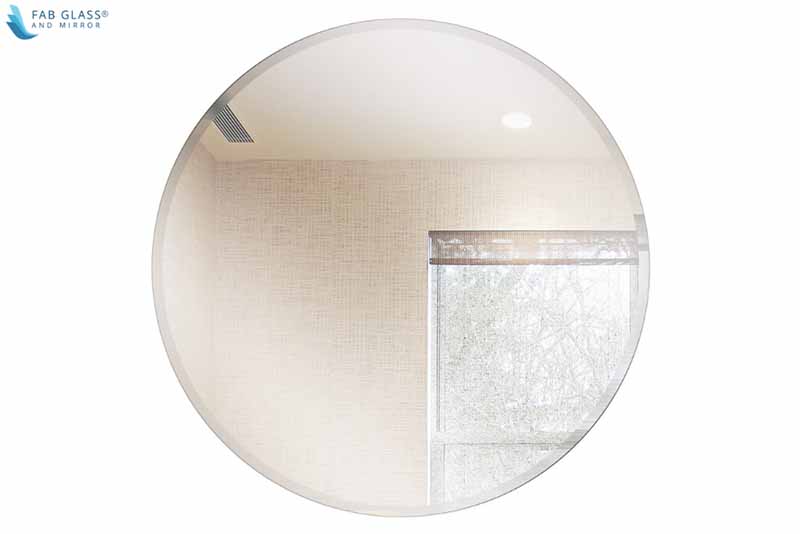
The most critical element of this DIY project has to be the round frameless mirror. No wonder, it has to be of the highest quality and precise dimensions to pull off a stunner. The ones with the Beveled polish happens to carry the remarkable finish and sheen. Here are a few top features that you might want to look for before finalizing the purchase:
- Beveled Polished Edges
- Adequate thickness ( 6 mm )
- Vinyl Safety Backing
- Hanging Hooks
- Tools for hanging
- Easy installation
Depending upon your preference and project requirements, you could buy these fabulous frameless mirrors in the dimensions of 18 inches, 24 inches, 30 inches, 36 inches or 42 inches respectively.
Leave a Reply