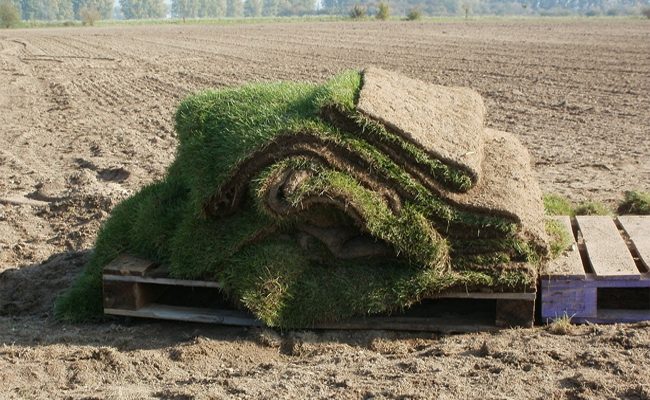
SOD is the best lawn to go for when you want to transform a compound covered in dirty, dry, and unkempt grass. SOD grass transforms your lawn into a lush and green comfort zone within no time.
Indeed, any excellent outcome requires adequate preparation, pure attention, and great care! To make your SOD look attractive and healthy, you have to ensure good preparation on the designated portion set to be the lay for your lawn.
Beloe is a specific series of steps that will help you achieve a satisfactory outcome:
Testing Your Soil
Soil testing is a must if you want healthy grass. The test will help you figure out what you need to add to the soil to make it fit and ready for the SOD.
Soil samples can be collected in buckets. Fill the buckets with 4-6 inches of the soil, preferably from 10 different spots on your desired area.
Make sure you submit the soil samples to your local extension a month before laying down the SOD. This allows you time to receive the results and prepare a healthy ground.
Clearing Debris and Weeds on the Soil
While you wait for the soil samples results, take time to clear off all logs, branches, and rocks that may be lying on the soil. Never lay your lawn on large objects, as this will make the loan lumpy and uneven.
Weed control is much more easily achieved before the SOD is installed. It’s advisable to use herbicides with glyphosate, as it can kill numerous types of weeds. Repeat multiple applications for 2-4 weeks; this will ensure you eliminate all the weeds, leaving your ground clean.
Grading the Soil
Using a rake or a shovel, break all lumps of soil and spread them evenly across the ground to achieve an even and smooth surface.
Tilling and Smoothing the Soil
You should add an extra inch of topsoil or manure to your existing smooth surface. After receiving the soil sample test results, add fertilizer as you will already know what is lacking in your soil.
Once you have applied manure and fertilizer as directed by the soil test, use a rototiller to till around 4 inches of the soil. This will help integrate the earth with the components you just added to its surface and still make the ground smooth. Tilling and smoothing out the soil makes it easy for SOD roots to attach well.
Fine Grading the Soil
After adding the topsoil, manure, and fertilizer, fine grading comes as the last step of the preparation; this involves making the soil smooth for placing the SOD. You can use a heavy mat or lawn roller to smoothen the ground.
Watering the Soil Before Laying Down the SOD
Watering should achieve only a sticky texture as soaking might damage the roots before they are attached to the soil.
After dampening the soil, you can now contact a professional lawn installer who will place your SOD as desired. You should continue watering the sod regularly until it’s well-grounded to the soil.
Absolutely, after a few weeks, you will have the beautiful lawn that you desired.
Leave a Reply