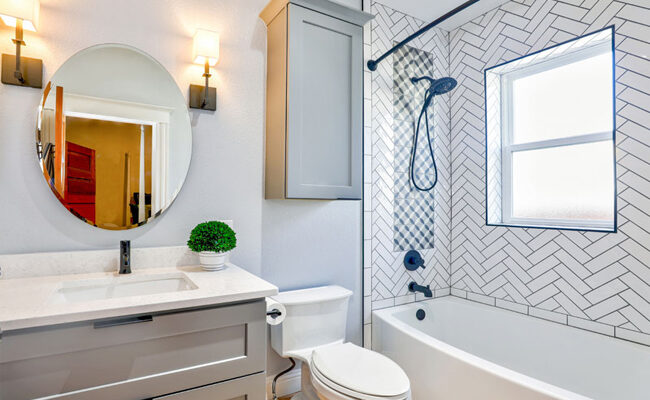
As one of the major fixtures in our bathroom, the sink is a key design consideration says sink formula. Of course, the look is important but you also need to consider how the sink is installed. In this article, you’ll get to know everything about Undermount sinks and also a detailed guideline on How to Install Undermount Bathroom Sink.
For the last few years, Undermount sinks are getting very popular for their looks and easy installation process. It gives a clean look and works great for kitchens or bathrooms. Now with more perfection, Undermount sinks will go years probably a lifetime without having any issues.
These sinks are very easy to install and replace but very sophisticated to use. It’s suggested to use help from professionals or you can do it by yourself. But you need to have some knowledge about the installation process. You’ll find endless marvelous designs, many custom sizes, and top-quality materials in the market if you choose an Undermount sink unlike any other.
Things You Need to Know Before Purchasing
Undermount sinks are usually installed below the cutout in the small bathroom vanity top. The cut edge of the hole in the vanity will be visible in this type of sink. So it’s important the top is a solid material and not a material like laminate or tile. Undermount sinks typically do not have pre-drilled holes for the faucet.
Instead, the faucet is installed into the vanity top through the holes; drilled between the sink and the wall. Before you purchase an Undermount sink you need to be careful that-
- Your vanity top has to be strong enough to hold the weight of the sink
- Your vanity top has to be big enough according to the size of your sink
- The sink has to be made of the right material for installation
- You should look at the color and design of the sink and choose one that will complement the whole bathroom design
Kind of Under-Mount Sink
There are different kinds of materials used to make Undermount sinks. You can choose any of these material-based sinks for your bathroom or kitchen. Such as-
- Stainless steel Undermount sink
- Enameled cast iron Undermount sink
- Fire clay Undermount sink
- Solid surface Undermount sink
- Still Granite Undermount sink
- Cultured Marble Undermount sink
- Ceramic Undermount sink
Tools Needed for the Installation
The things that you need for the installation are-
- Undermount sink
- A measurement tape
- A silicone adhesive
- A paper towel
- Few pieces of wood
Step by Step Guideline of Installation
Follow the detailed description to install an Undermount sink in your bathroom-
- First, make sure which way you have to install your Undermount sink
- There are two sides- one deep side and another side will be shallow
- Always install the shallow part towards you
- That way it facilitates washing your hands
- Measure the inner depth of your cabinet to the underside of the countertop
- Take a piece of wood that you’ll use to hold the sink up while using adhesive
- Make sure your adhesive smells like vinegar because that means it going to be a good adhesive
- Place your sink underneath the countertop
- Apply your silicone adhesive on the edges of the sink in the quarter-inch bead all the way around
- Be very careful with adhesive so you don’t get in touch with the silicone
- Make sure your bead is nice and continuous because it’s also a sealer that will stop the water from getting into the cabinet
- You can keep toilet paper close by in case to need to wipe
- Now grab your sink upwards and lift it into position
- Use the piece of wood to give the sink support from underneath
- Manipulate the front and the backside of the hole
- Give it a lilt and squeeze it in place
- Make sure the sink’s not going to fall out
- Be sure that the gaps are consistent around
- Wipe off the extra adhesive that might come out from the sides
- You can add some more pieces of wood for compression if you need
- Theres’ another way that you could do this is by putting a piece of 2×4 with a hole drilled here
- You can buy at the store a threaded rod about half an inch
- Then you can get galvanized bolts for the half-inch rod
- Then you can put a little piece of wood underneath with a hole in it as well
- Slid it over the rod, tighten the nut on
- From the top, you’ll lift the sink into place and you can thread the rod
- Use a wrench to put the compression that’s going to do the job easier
- Leave the sink like this for few days to dry-down the adhesive completely
- Now your sink is ready to use!
So now you know how an Undermount sink looks like and How to Install Undermount Bathroom Sink. We are sure once you start using the Undermount sink at your home you’ll never go back to another one. These sinks will definitely be a statement piece for your home decor. If you need a professional bathroom sink Installer in Portland, you can visit this site. Make your bathrooms look classy by purchasing stylish Undermount sinks.
Leave a Reply