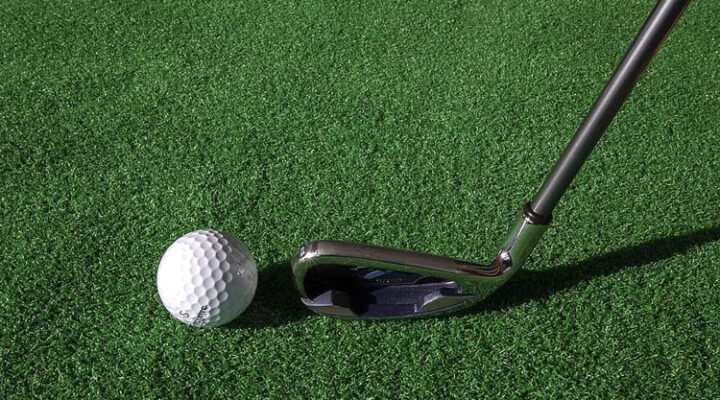
There are various reasons to paint your golf driver head. One, you may have noticed some scratches that you cannot stand. Or, you do not like the style the head comes in and would love to customize it to your preference. Whichever the case, it is essential to understand how you can paint your gold driver head without compromising its quality.
Painting a golf driver head such as a Callaway XR16 driver can be quite a process for beginners. But, instead of spending your coins at a pro shop for refinishing or customization, you can take on the project and do it yourself. Take it like the same way you can repair a few scratches on your car.
Here are Steps to Follow When Painting a Golf Driver Head
Step 1: Prepping
Before you start painting the golf driver head, it is essential to prep the surface, tools and everything else you need. Start by lining your surface with a trash bag or any materials to protect the surface underneath. This will prevent the paint from reaching valuable surfaces and will give you wiggle room to be messy.
Also, set out all the tools you need for the project. Select the paint, set aside the brush or sprayer, make sure you have painter’s tape and a sanding tool. You will also need soapy water and a soft rag to clean the surface of the driver before painting.
After cleaning, use painter’s tape to cover the area you do not want to paint. This is pretty simple and quick to do, and you do not need any help with that.
Step 2: Mix the Paint
Most paints come with instructions from the manufacturer on how you should mix and use. Follow the manual to the core to ensure you have the right amount and consistency of paint. A small mistake in measuring and mixing can result in a mess you might not manage to repair.
If you are using already-mixed paint, stir thoroughly to ensure the paint is uniform. In the same case, follow the manufacturer’s instructions on mixing to prevent making mistakes along the way. If you are stuck on the choice of paint, you can use automobile touch-up paint for metal driver heads such as that of the Callaway XR16 driver.
Step 3: Brushing or Painting
Using a soft brush, apply the paint following one direction in single strokes. Start from the back of the driver’s head to the front in one stroke. This will ensure you distribute the paint evenly in one line, which will prevent streaks. Leave the paint to dry for about an hour and add a second coat. Follow the same procedure for the second coat and pay attention to areas you might have missed.
If you are using a sprayer, start from one side of the driver’s head and spray lightly. Make sure the sprayer is at least 5 inches away from the surface of the driver’s head. This will help distribute the paint evenly without dripping on the surface after application. You can wait for the first coat to dry before spraying again.
Step 4: Touching Up
It is expected that after painting, some areas will have more paint than others, while others will have little bumps that you need to smooth out. Use sandpaper, preferably 600-grit sandpaper, soaked in water for 15 minutes.
Lightly sand the surface to smooth out for an even surface. Make sure you work in one direction to avoid over-sanding, which can easily scrape off the paint. After smoothing out the surface, use a wet cloth to wipe any residue.
If your driver head’s sole is unpainted, you can follow the above steps too. But, the type of sandpaper you use is different from the one you use on a painted sole. On this note, use 220-grit sandpaper soaked in water for 15 minutes. Alternatively, use a rotary sander if the sole has deep scratches that you would like to even out.
Summary
With a few items, you can paint your golf driver head and restore its beauty. The steps above can be useful if you do not know where to start or are looking for a simple step-by-step tutorial to paint a golf driver head.
Leave a Reply